


Explore the Shop
Shop The Lovely Drawer

 Quick ViewSelect options
Personalised Cuddly Bunny
£30.00 – £35.00
 Quick ViewSelect options
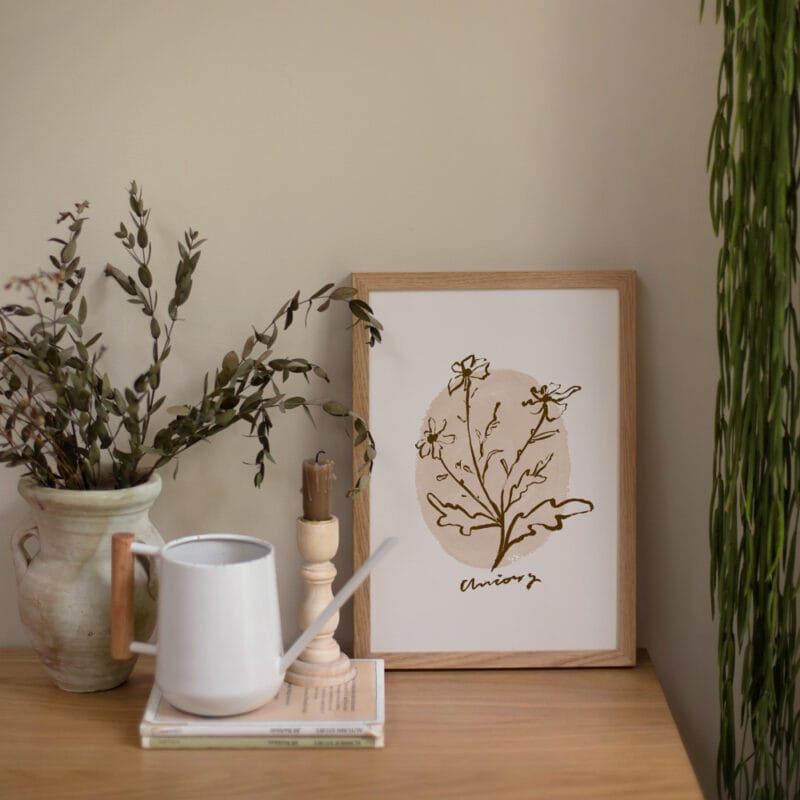
Orchard Days
£20.00 – £25.00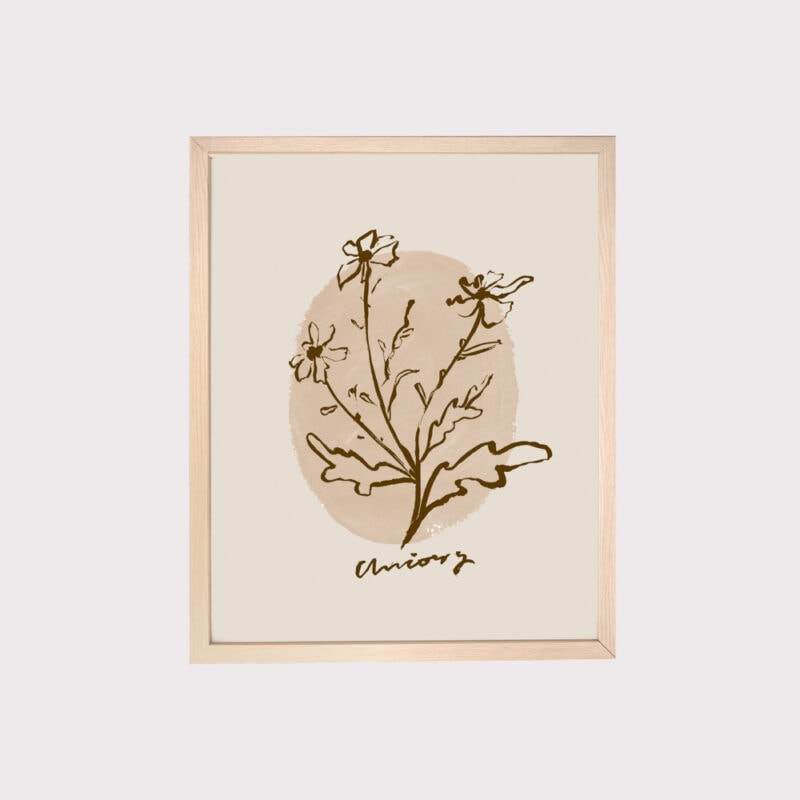
 Quick ViewSelect options
Chicory
£20.00 – £25.00
 Quick ViewSelect options
Terrace 1
£20.00 – £25.00
Upcoming Workshops

 Quick ViewSelect options
Workshop Gift Voucher
£60.00 – £180.00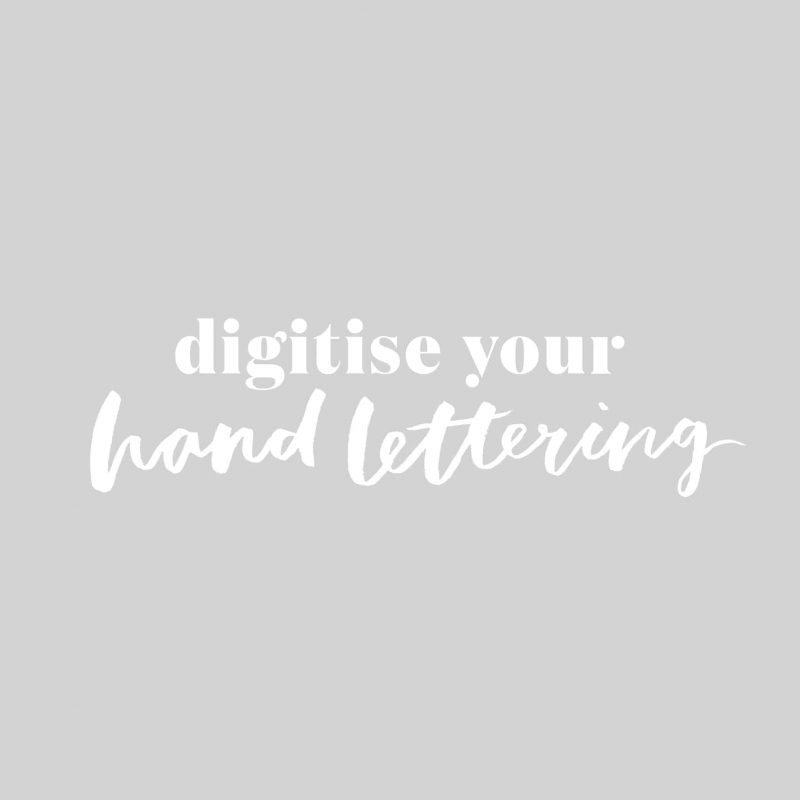 Quick ViewAdd to basket
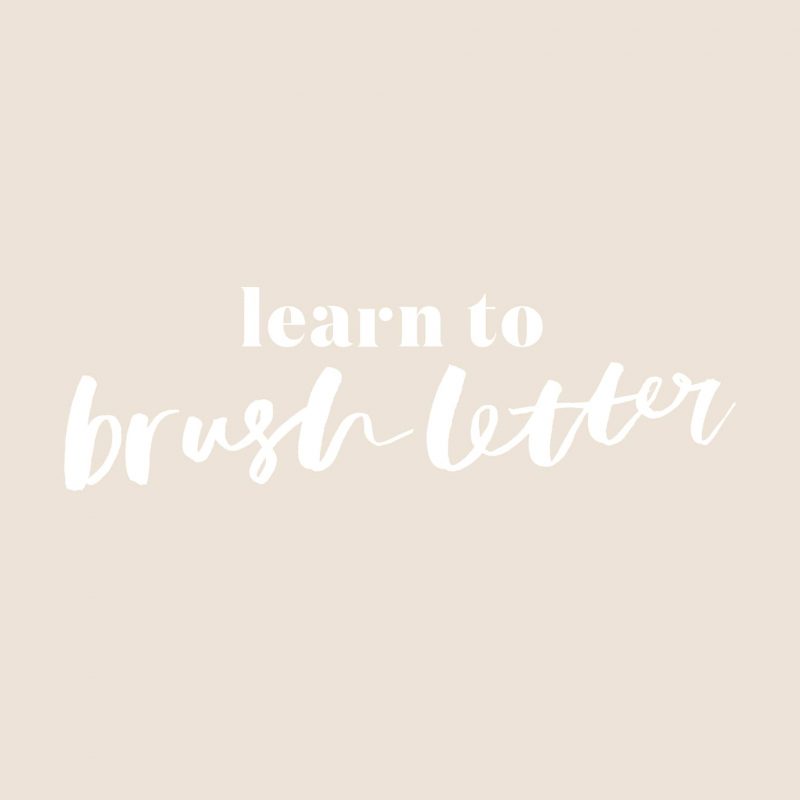 Quick ViewAdd to basket
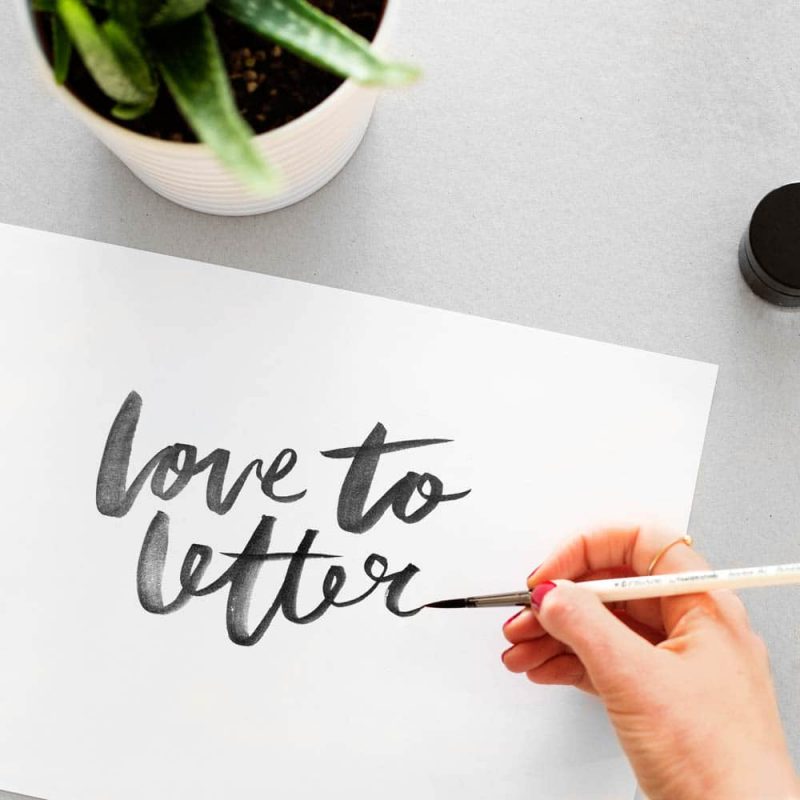
Private Brush Lettering Session
£180.00
 Quick ViewAdd to basket
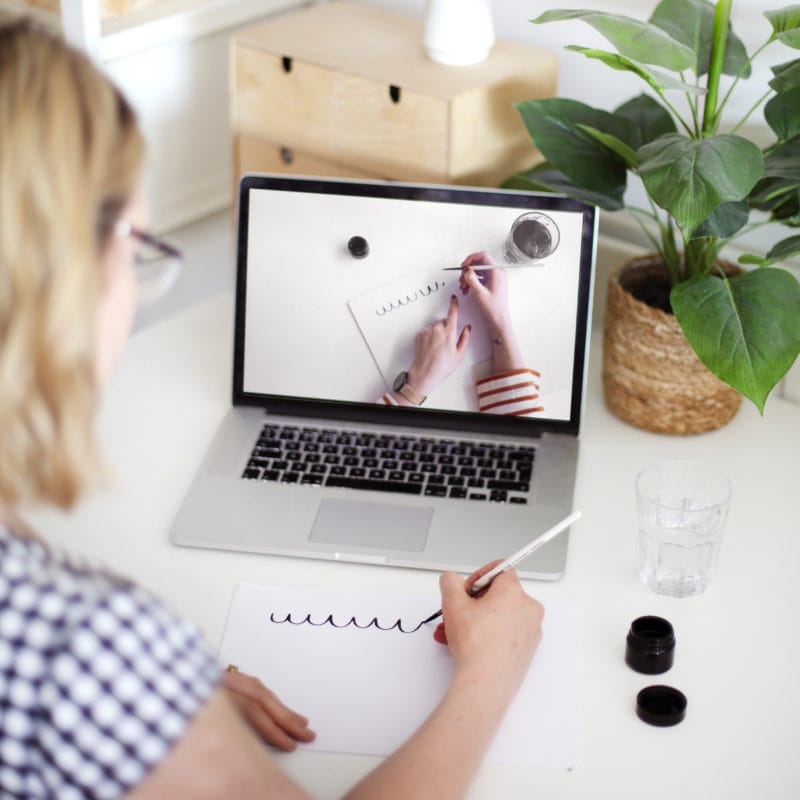
Brush Lettering Course
£50.00